Thursday, 18 August 2016

Wild cherry plum jam with chilli


Wild Cherry Plum Jam...Yum

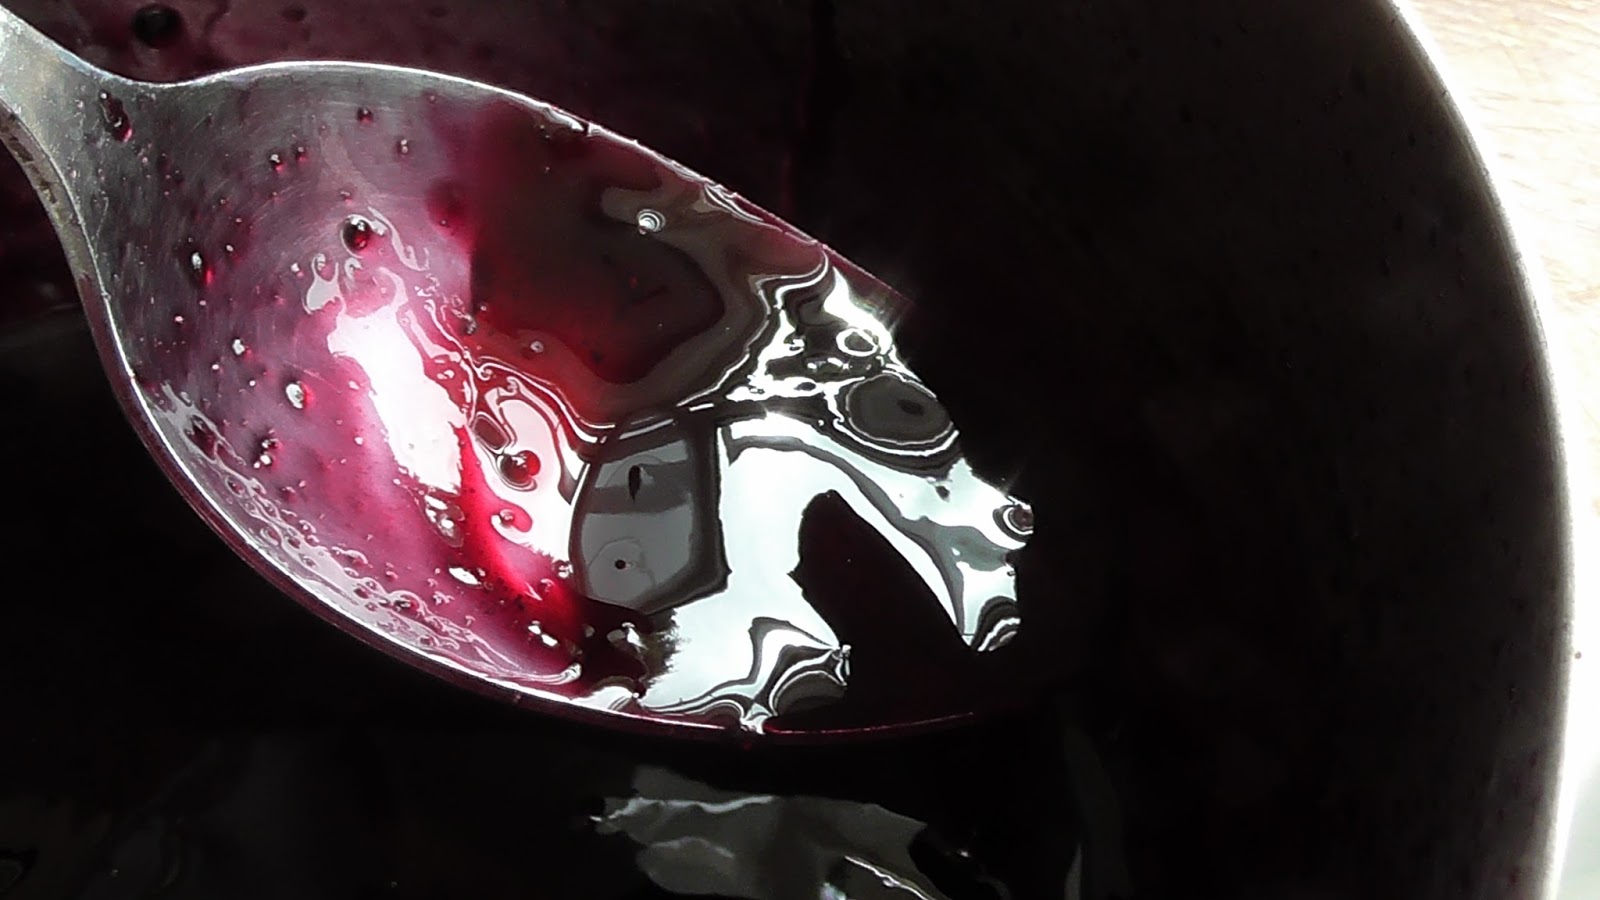
Fig.1.L.Moore wild plums and 3 apples with chillies

Fig.2 .L.Moore Wild cherry plum jam/jelly

It's amazing how much free food is about at the moment. I was taking a walk down one of the quiet streets where I live and I came across a load of squashed fruit on the floor. I looked up expecting to see these beauties hanging from some lovely branches. To no avail...there wasn't any. So a bit perplexed I kept on walking . I carry on a little further and there is more of these fruity darlings on the floor...and still no fruit trees as I look up. What's going on? I kept walking and then I saw a little yellow fruit sitting inside a jungle of hedges...hm I thought...maybe someone picked the fruit up and laid it in the tree.

Let me continue with this thought. 

I carry on walking and I see more little yellow fruits sitting in the hedges (the penny has nearly dropped). The fruits are getting more plentiful on the floor. I stand there still thinking about these fruits so I decide to peer a little closer into the urban hedge jungle. I pull back the hedge with my hand and Gordon Bennett (a UK saying)  deep in the jungle are not one but loads of fruit. (yep the penny has finally dropped). There are red, yellow, purple fruits and YES YES and more YES'S it's plum alley. OMG I was in my element. I smell it and take some home for research.

After some reading I eat one...No I'm not ill. They are definitely plums.Well I never! I have not seen these beauties before (I'm not surprised they are so well hidden). So here is my amazing wild cherry fruit jam...it's gorgeous.

Go and scan your local floors by hedges and see if you can fins some...there are loads of them. Of course always be careful 'if in doubt leave it out'.

Recipe
1 and a half pounds of plums (with stones in)
* 3 foraged small apples
half a pint of water
Sugar (the same amount of sieved juice)...read on for this
3 tbs lime or lemon juice
2 hot chillis (depending on your tolerance)

Method
Put your plums in a pan and then add your water. Bring to the boil and simmer until nice and soft. Now mash up your plums so the stones release and you have a soft mash (if it goes a bit dry add some more water. Simmer for a bit more. Then sieve your pulp into a bowl and collect all the juice. You can press it out a bit if you like which may make your jam/jelly cloudy. I pushed my pulp through my sieve a bit and it is not cloudy. 

Once you have collected your juice put it back in the pan. Now pour in your sugar. Your sugar should be the same volume of your juice. I used the same bowl and made a line where the juice came to and poured my sugar into the bowl until it was the same amount of my juice and poured it into my pan. Not chop up your chillies and put them into your pan (including seeds) and then add 3 tbs of lime or lemon juice. I then heated the pan up and brought to the boil. I boiled for about 30 mins to 40 mins stirring continuously. When you feel your wooden spoon resisting the stirring as you stir your jam test it i.e. (take a teaspoon and put on a cold plate and place in the fridge). When it is cold it should crease up when you push your finger into it. If it still too runny then boil a bit more. Then pour into your sterilized jam jars.

* Ooops I forgot to mention the apples. Chop your apples and put them in with your plums in the pan at the beginning (the apples help the jam/jelly set a little).


Hoorah...it's gorgeous.

This can be used with yogurt and fruit, or on toast with butter, or with cold meats and cheeses and also put into a stir fry. Experiment...I have tons more so I will be getting creative with these plums so watch this space. 

Fig.3. L Moore Can you see them?
Fig.4. L. Moore Can you see them now?
Fig.5. L.Moore Arh there they are
Fig 6. .L.Moore Now you see them
GO AND GET SOME... enjoy


Thursday, 21 July 2016

Rich Mahonia Syrup

Rich Mahonia Syrup

Not only does this look good IT IS GOOD!


© Fig 1.L.Moore. Rich Mahonia Syrup with yogurt and fresh fruit

What can I say? When I first came across these dark rich tiny black beauties I thought 'woah...I bet they are dangerous'. I'm guessing there are millions who also thought the same. Good news my friend these little gems are indeed edible. Don't get me wrong they pack a seriously bitter punch to your tongue but they are worth the effort. Because of their bitterness they are understood as a 'bitter' which is, I believe, very good for the liver as it help the body secret fluids through triggering the bile ducts so no wonder it's used as a detox for the body.

This Oregon Grape known as Mahonia aquifolium is found throughout England in hedges, woods, gardens, parks and other public places. I came across these a few gardens down from where I live. I was walking by the said house while the occupants were doing a bit of gardening. I asked them what the plant was called and ran home and did my research. I ran back the next day and pleaded for some of their berries. There was a look of bewilderment because the owners of the plant had always assumed the berries were poisonous. 'Nope I said with pride...they are definitely edible'. I explained how bitter the are and how sugar is a must for cooking. I was up against the clock because the birds had had a field day on them over the past 24 hours.  

I had anticipated a few jars of jelly or jam but the birds beat me to it...the beloved plant was near bald when I got there. I know...I know...there is plenty for everyone and we all need to share with our little feathered friends. What is fab is now I know them I see them everywhere. The berries are about from June onwards. Right now though I can't find a shrub with any fruits on so you need to be quick.

Anyway here is my amazing Rich Mahonia Syrup made from the ripe fruits.

Rich Mahonia Syrup
A bowl of fruits
about half a pound of sugar (taste as you go)
squeeze of a little lemon juice
Cover your berries with about 2 mugs of water (just covering)
Potato masher

Method

I washed my berries in cold water and placed them in a pan. Cover the fruits with about 2 mugs of water. Bring to the boil and simmer for about 10-15 mins until your water runs a rich purple. While it is simmering use your masher and mash up the berries to extract more juices. Now add your sugar (try adding a bit at a time until it is sweet enough) and keep stirring until the sugar dissolves. It should be quite sweet because you will only use a little at a time. If needed add a little more water so it is not too thick. Once you have added your sugar simmer for a further 5 or 10 mins but keep an eye on it so it does go like toffee. You want your mixture just very slightly thick while it is hot because when it cools down it will go thicker. If your not sure turn the heat off and wait until it cools to check the consistency of your syrup. If you cool it down this way you can always make it thicker by adding more sugar and warming it up again but the reverse is not possible. If it is too thick while it is hot it will cool down like toffee (who knows it may come in handy) so watch it well. When it cools down pour into a jar and place in the fridge and use when you need it.

This syrup is very diverse. I have used mine with yogurt and fresh fruit...yummy. Also it can be used with ice cream and cereals and/or your granola, added to stir fries and gravies...delicious. You could even add hot water to it and make it into a nice hot drink or you could cool your drink down and add some soda water to make a refreshing drink with some mint...Ta Dah.


© Fig 2.L.Moore The Oregon Grape Shrub 
© Fig.3.L.Moore Oregon Grape close up
© Fig 4.L.Moore Oregon Grape to scale with a coin 
© Fig 5.L.Moore. Syrup with yogurt and fruit
© Fig 6.L.Moore. Making Syrup in Pan
© Fig 7.L.Moore. Lovely glossy syrup
© Fig. 8. L.Moore Pouring syrup on fruit & yogurt...yum
This shrub is so versatile the leaves, the bark and roots are also used medicinally for a number of ailments. Berberine is a chemical constituent found in several different plants and it is one of the main ingredients that attracts herbalists to this shrub. There have been many claims that the Oregon Grape Root is good for including: lowering blood sugar levels, fights infections, skin infections, drains and detoxifies, an anti spasmodic, and other claims are the impact it has on the liver because it is understood to be a hepatic (herb for the liver). The berries are also packed with vitamin C.

Remember to forage responsibly and always be extra careful that you know 100% what it is you are about to eat. Check with friends and do your research and only try in small quantities first  "if in doubt leave it out". Check a variety of sources and do not always rely on the internet as a source of truth...make your own mind up. There will be other fruits about that are dangerous look a likes.

IN saying that don't be discouraged go and forage with a group of friends and enjoy the wonders of a new window to the world. Start with safe options like dandelions if your totally new to foraging...it's amazing.

Enjoy!

Description
A small evergreen shrub with dark green, spiny holly-like leaves and bright yellow flowers in dense clusters, which later produce blue fruit in clusters resembling bunches of small grapes. Flowers January-May; fruit ripe June onwards.

Disclaimer
The information in this post is not my expert opinion on herbal medicinal remedies and/or health claims. Everything I say about this plants medicinal properties are taken from a number of sources which you can access below.

Source material

Irving, Miles (2009) The Forager Handbook:A guide To The Edible Plants Of Britain, Ebury Press, p50.
http://www.herbalremediesadvice.org/oregon-grape-herb.html
http://www.peoplespharmacy.com/2005/10/18/oregon-grape/


Saturday, 16 July 2016

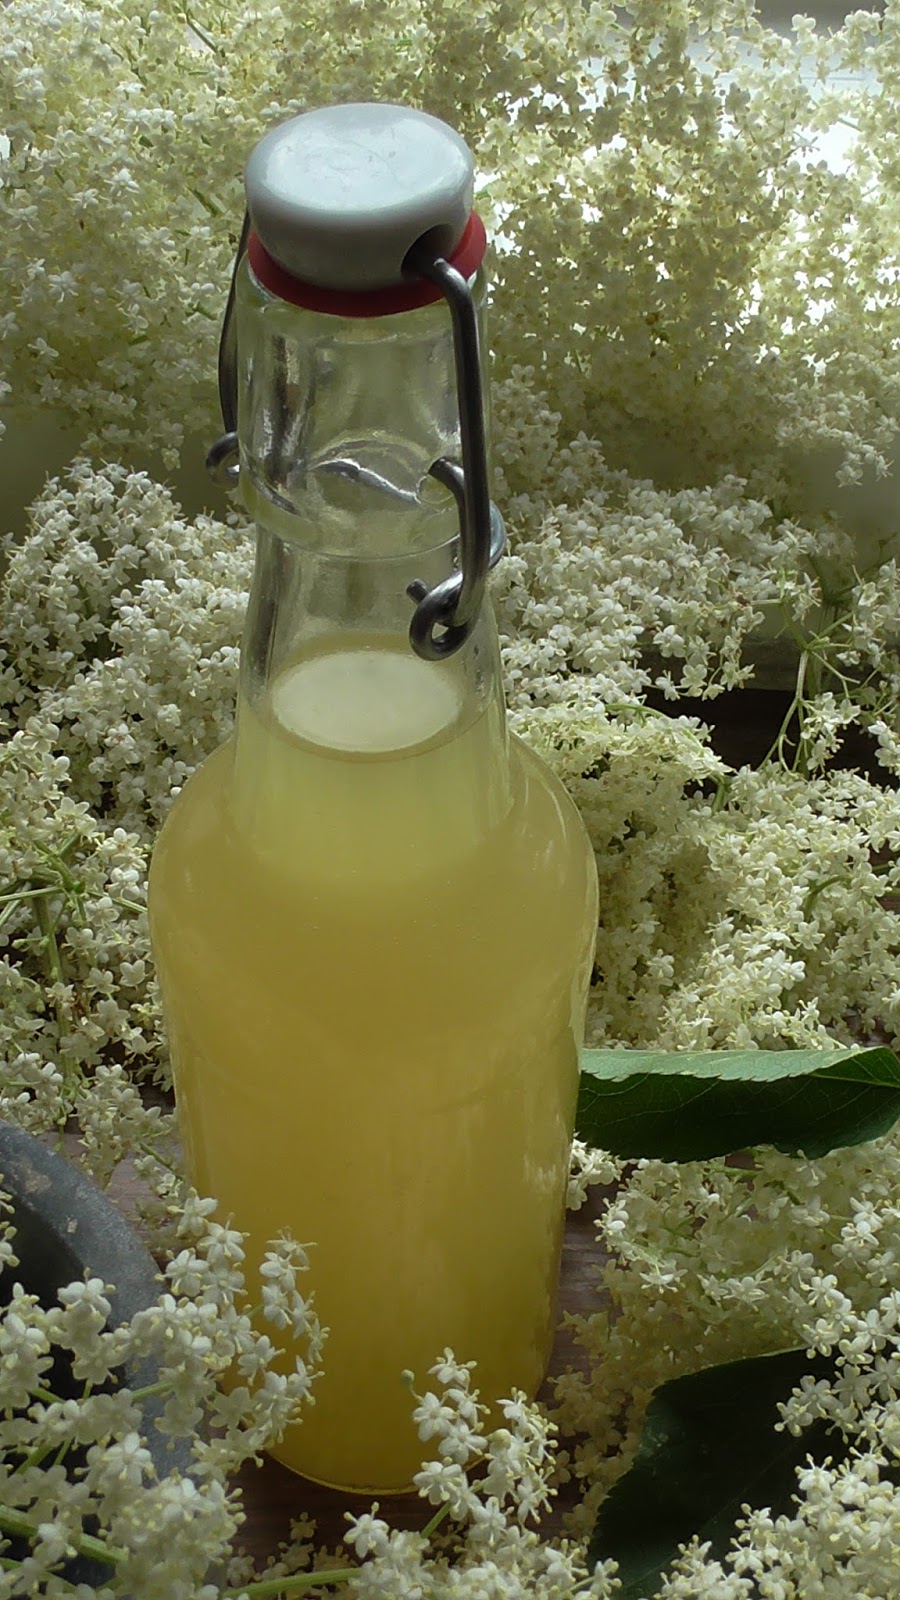
Summer Elderflower Cordial

Summer Elderflower Cordial


Sometimes you can't see the wood for the trees!

© L.Moore Fig 1. close up of elderflowers
© Fig 2.L.Moore lemons,limes & mint
© Fig 3.L.Moore mint, lemons & limes
© Fig.4.L.Moore Elderflowers in pan of water with fruits
© Fig 5.L.Moore Ta Dah...Elderflower cordial...yum
Well summer has finally arrived ...Yay... and it's elderflower season (well it was a week ago, the elderflowers are just on their last legs now). The trees and bushes where I live are in full bloom and bursting with goodies. I can see the trees out of my bedroom window and I revel in watching the weightless squirrels jump from tree to tree. The sun is out and the sky is blue...ah bliss. I sit up in bed and just stare out of the window. It's elderflower day and I'm thinking where to go and find some plump flowers.

I need my coffee so I pop to the local shop and get my milk lost in elderflower thoughts. As I cross the green where I live (there are lots of trees there) I stop suddenly. In the distance I think I see an elderflower bush. 'Nah, it can't be'. Sure enough as I get closer there it is...in all it's glory full of bursting elderflowers. It's not a very big bush but it's loaded with flowers. I have lived here for about 3 years and never ever noticed it. I can't believe my luck and I'm totally bewildered why I've never noticed it before. I came to the conclusion that because I take the exact same route each morning to the shop across the same path along the green I have missed out on these beauties due to old habits. I am astonished I never saw it before. Now that's a big lesson in sticking to old rituals. I run home and get my trusty little ladder, a large paper bag and some scissors. Hoorah to elderflower cordial! It's early in the morning and it's the best time to collect before the bees take all the pollen. Though it's a small bush the ladder is a godsend because I can't reach most of flowers. I snip about 40 flowers and head home with the ladder over my shoulder.

Elderflower Cordial

40-50 flowers
3 lemons
1 lime (add an orange if you like as well)
50 g citric acid
1 kg (2 pound bag of sugar)
3 liters of boiled water
Fresh mint sprigs

Boil your water and take off the hob. Slice your lemons and put in pan and stir.  Then grate the rind of a lime and then squeeze out the lime juice and add to your pan. Then add the sugar and and the citric acid and stir until it has all dissolved.  Then pack in as many elderflowers as you can. When you collect your elderflowers pick them in the morning especially when its been sunny. This time of the day you will get most of the pollen before the bees take it. Place the flowers on paper and let the insects leave the flowers. Then cut with scissors and drop them into your pan.
Stir your mixture and add your mint. Cover the pan and put in a dark place and leave for 3- 4 days. Stir daily.

Strain the mixture and bottle to the top and enjoy.

Sterilizing  bottles
Place bottles in a cold oven. Now turn the gas to 160 degree centigrade and when it heats up leave in the oven for about 10 mins. Leave to go cold in the oven and then take out. Now pour your cold elderflower juice into your cold bottles with a jug.

This is yummy with cold sparkling water and slices of lemon and mint. Ta Dah...go for it you will love it...


Friday, 17 June 2016

Dandelion Roots with Thai Green Curry and Dandelion Tea

Dandelion Roots with Thai  Green Curry and a cup of Dandelion Leaf Tea


Who ever thought gardening would serve up a great a creation...well dandelions are hip!


© Fig 1.L.Moore Dandelion Roots 
© Fig 2.L.Moore Dandelion Roots
© Fig 3.L.Moore Washed Dandelion Roots
© Fig 4.L.Moore Washed Dandelion Roots
© Fig 5. Thai Green Curry with Dandelion Roots
I know it is probably hard to believe that I am no gardener. Though I love to forage gardening is not what floats my boat. However yesterday being a glorious sunny day I thought it was high time I did some gardening before it disappeared through the overgrowth. So I started plucking weeds and other unknowns from my garden where I got more than I bargained for.

I had so many edibles I didn't quite know what to do with them...hence dandelion roots with my Thai Green Curry...yum. I had so many dandelions I felt guilty dumping them. So because I had been on the wine the night before I made a dandelion tea which is apparently amazing for the liver (especially if you have had a night on the booze).Yep it gets the liver juices going and looks after it...hooray to dandelions they are so dammed good for you. A word of warning with dandelion tea it is rather  bitter so it is best to dilute it a bit and have it with a good spoon of honey. The last time I had dandelion roots was in the winter when they were big and fat.

Dandelion Tea
As much dandelion leaves as you like (fill half a pan) washed and drained
Cover with water
Simmer for about 15 mins until the water turns a good green colour

© Fig 6.L Moore Dandelion Leaf Tea
You can dilute it down like a cordial and add hot water and honey to make a mild tea or use it straight from the pan so it is dark green and pungent with honey (use a tea strainer to get a clear tea). You can even have this cold with soda water and honey (put the honey in the warm water first and then wait until it cools and place in the fridge). It does make a refreshing drink and it is good for you. Dandelions are packed with vitamins (K,A,C,E), minerals (Calcium, Manganese, Iron, Potassium)  and nutrients (fiber, protein, carbohydrates). One thing about dandelion is that is does not strip the body of potassium.

So back to my meal.

It's such a treat when your dinner is shaped by good old weeds from the garden. Now that's magic! I chose the largest dandelions to uproot and eat. If your dandelions are quite small believe me it is not worth the labor of peeling these knobbly little edibles (not unless you have all day). When digging up the dandelions be careful not to break the roots. Dig the surrounding area around your plant as these roots can go quite deep. Gently pull it up and twist off the root with your hands. Then wash the roots in warm water and then begin to scrape them with a small knife and/or scouring pad. When they are nice and clean and white chop them up and they are ready to stir fry.

Stir fried dandelion roots
1 tbs coconut oil in a wok
A couple of handfuls of dandelion roots
2 cloves of garlic

Get your wok good (with your coconut oil) and hot and then add your dandelion roots stirring quickly for about 3 minutes then add your garlic for a further 1 minute and your done. I took these out the pan and then made my Thai Green Curry and then added the dandelion roots later to the curry and it was lovely. I did try the dandelion roots raw and they were a bit bitter. I think dandelion roots taste better in the winter before the plant flowers because the roots are fuller and fatter and less bitter. During the winter I boiled the roots and had them with butter and they were delicious. The roots have more medicinal properties in them in the winter and are sweeter. However for this time of year it is a great way to use them up..yum.

Thai Green Curry
3 lime leaves
1 tbs thai green curry paste
1 tbs coconut oil
1 bunch fresh coriander
2 hand fulls of dandelion roots (previously stir fried)
1 handful of frozen peas and any other vegetables you fancy (I used broccoli)
1 tin of coconut milk
2-3 fresh chicken breasts

I usually make my own curry paste.

My thai green curry was not planned (I was coerced into making it with an abundance of dandelions LOL) so I used some thai green curry paste instead which was also good. In my opinion there is only one ready made high street brand that I think is worth using and that's 'Mae Ploy'. SO heat your wok up so it's nice and hot then add you coconut oil then your curry paste. Give it a good stir and fry it off then add your coconut milk slowly and lower the heat. Give that a good stir and now add your lime leaves, chopped coriander root and diced chicken breasts and simmer for about 20-30 mins on low. Halfway through I added my dandelion roots to soften a bit more. Lastly I added the last of my coriander leaves and served with some basmati rice...slurp...gulp...yum.

Then (I know it's not sexy) I had a cup of dandelion tea afterwards. What a dinner... thank you dandelions! I will keep the tea in my fridge and have it daily with some honey.

Below is some useful information on dandelion. The roots can also be dried and powdered for medicinal uses. In the British Herbal Pharmacopoeia 1990 volume 1 (pg 38-39) dandelion root is understood as a hepatic stimulant i.e. it is a liver stimulant. You can also make tea with dandelion roots and there are so many health benefits from dandelions and lots more!

British Herbal Pharmacopoeia (1990) Volume 1, published by the British Herbal Medicine Association 
https://www.organicfacts.net/health-benefits/herbs-and-spices/health-benefits-of-dandelion.html 
http://www.anniesremedy.com/herb_detail92.php


Sunday, 12 June 2016

Ocean Sea Beet with Parmesan Cheese and Greens

Ocean Sea Beet with Parmesan Cheese and Greens

While I was on my holiday enjoying the delight of foraging outside my familiar neighborhood I was amazed at what I could find in this part of out little Island. I'd been to Devon and I found some amazing edibles on the beach. While I was taking a stroll along the beach and thinking about the world... as you do I came across a great find of greens. As usual I had my pocket guide of wild edibles with me and my camera and a few paper bags. The weather was lovely and I was somewhere else with my thoughts. I had my toes in the sea water and I found a tiny little beach all to myself. Oh to have your own bit of beach to yourself is a wonder in-itself...no dogs, no people just me and the ocean...ah such a delight.

© L.Moore. Fig.1. Collected Sea Beet
I was listening to the water and looking around and breathing in the sea air and doing a bit of breathing exercises (breath in for 6 breath out for 8 etc). I felt the salty air up my nostrils and I was so chilled. I laid on a rock and just wandered off into complete calm. After a while I continued on my walk and came across a whole load of sea beet..oh yes there it was green, shiny and welcoming...what a prized find yay.

So I bagged a handful and scurried on up to the rented holiday home and did my research. Bingo! yes indeed it was sea beet..Ta Dah to another amazing day. The texture of this lovely leaf is thick and rubbery and you would imagine it tasted rather tough. On the contrary it's amazing.
© L.Moore. Fig 2. Collect your Sea Beet 
© L.Moore. Fig 3. Sea Beet by the sea
© L.Moore. Fig 4 Sea Beet with parmesan cheese and greens
© L.Moore. Fig 5. Empty dish speaks volumes (first cooked on holiday)
© L.Moore. Fig 6. Collect your Sea Beet (responsibly) on cliff side


Ingredients
4/5 handfuls of sea beet (treat as spinach i.e a lot gives you a little)
1 green pepper
2 tbs cream cheese
4 cloves of garlic
1 lemon
Parmesan cheese for grating on top
Butter for frying (or an oil of your choice i.e olive oil/coconut etc.)

Wash you sea beet and pat dry. In a frying pan melt your butter and gently fry your garlic. Add your sea beet and pepper and fry for about 10 minutes until sea beet is soft. Add your cream cheese and lemon juice and stir. In a warm ovenproof dish add your sea beet and grate on top with parmesan. Place under the grill for a minute and serve. Ta Dah... delicious.

Get out looking for this incredible edible...I promise you won't be disappointed.

As usual my disclaimer is that 'it is not my responsibility if you don't pick the right edible'. Please be 100% certain it is what it should be. If in doubt leave it out. Some of my posts will give you source material to do your research and point you in some interesting directions and some do not. It all depends how much time I have when I am writing.

But please enjoy! It is great fun.


Monday, 30 May 2016

Lemon Rock Samphire with parmesan cheese

Lemon Rock Samphire with Parmesan Cheese


Well what can I say about this crazy abundant edible?

It's Absolutely marvelous


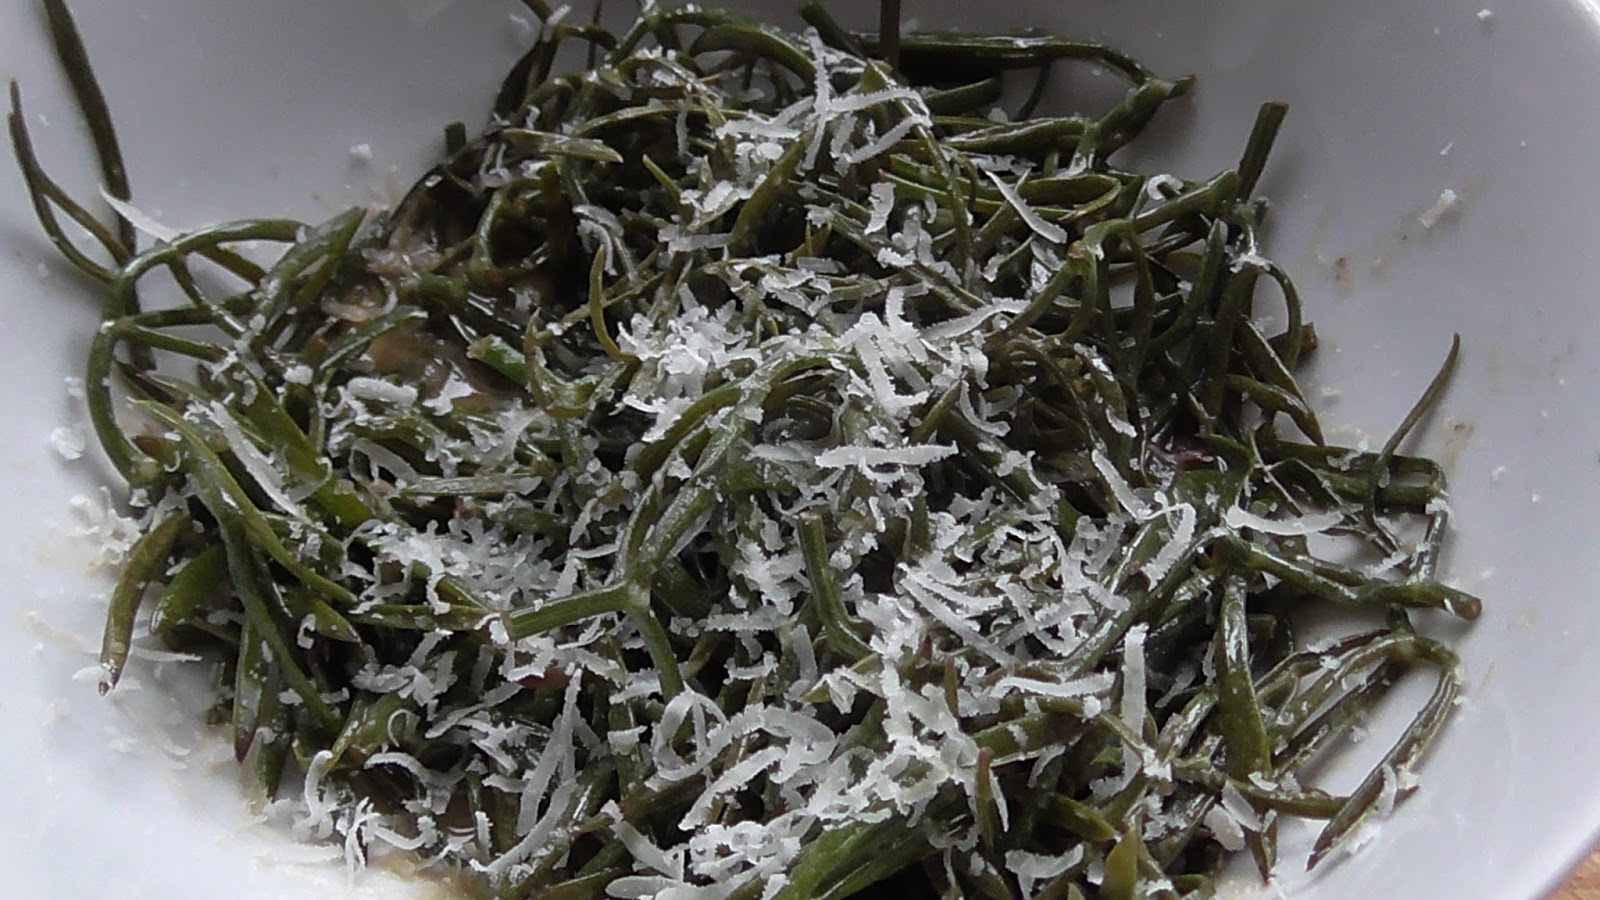
© L.Moore Fig 1. Lemon Rock Samphire with Parmesan
© L.Moore. Fig.2 Rock Samphire Just collected from rock face
© L.Moore. Fig.3. Rock Samphire on cliff face
© L.Moore. Fig.4. Rock Samphire in context on rock face
© L.Moore. Fig 5. Lemon Rock Samphire with Cheese
© L.Moore. Fig 6. Empty dish speaks volumes (my first trial of samphire cooked on holiday) 
© L.Moore fig. 7. At home with salmon
I went on a family holiday to Devon and found this extraordinary edible on the cliff face within easy reach of little old me. This was a very lucky find because usually rock samphire can be incredibly difficult to get on a cliff face. As soon as I saw it I knew immediately what it was. I bagged a handful and went back to our holiday house and did my research on it. It was indeed rock samphire. I had never tasted rock samphire before. I had tasted marsh samphire from certain supermarkets but I have never seen this wonder. I tried it raw first (when I was 100% certain what it was) as a little nibble and thought 'wow that's different'. I can't find the words to explain how it tastes but my interpretation of it reminds me of a celeriac. NO one else agrees with me of course so don't take my opinion literally. You will have to try it yourself. A lot of recipes suggest pickling it and I can see why. I imagine it would pickle really well. So as per usual I wanted to experiment with it...and hey presto here is my little recipe which I thought was yummy.  


4 big handfuls of rock samphire
4 cloves of garlic
2 tbs butter (or oil of your choice i.e coconut etc.)
1 lemon
2 tbs cream cheese (optional)
Parmesan for grating on top

In a pan steam your rock samphire for about 10 minutes and drain off as much water as you can. Then in a frying pan add your butter and lightly fry your garlic and then add your samphire and the juice of half to a full lemon. Fry for about 5 minutes and then add your cream cheese and stir in. Put your samphire in a warm ovenproof dish and then grate your parmesan cheese on top. Place under the grill for a few minutes and serve. I had mine with salmon and mint potatotoes and I have also had it in a warm salad with chicken and with pasta. Experiment with your adorable find. I can assure you it quite an extraordinary taste that will tickle those taste-buds..delicious.

I was lucky enough to bring some home and I put in the fridge for a week and it was still amazing. My partner delighted me by making me a chicken ballotine wrapped in garden herbs and parmesan cheese served with lemon samphire (without the cheese and steaming ...he fried it in garlic butter and lemon juice yum yum). Ah this is the life eating and exploring new edibles...what more does a woman want. If you have tried it and come up with innovate ways of using it then please let me know I would love to hear from you.

As usual please gather responsibly. I only take what I need and I always pick from a number of plants to ensure the plant thrives. Again 'if in doubt then leave it out'. I claim no responsibility for your identification of your wild foods. Be sure to try a tiny amount to see if it agrees with you. Below are some useful sites to help you identify rock samphire, recipes and other useful information.

http://www.recipes4us.co.uk/Rock_Samphire.htm
http://www.gallowaywildfoods.com/rock-samphire-identification-edibility-distribution/


Wednesday, 6 April 2016

Jack by the hedge pesto with cream cheese

Jack pesto with cream cheese


It's free...it's delicious...and it is everywhere at the moment.

© Fig.1.L.Moore 'Jack by the hedge pesto with cream cheese'
This is so versatile and can be used in a number of ways. It can be used in pasta to turn the ordinary into extraordinary.You can put it on toast with some cheese...yum, it can be added to a pot of lovely new potatoes, plonked on a cracker, added to your favorite sandwich and more. I love Jack by the hedge (or commonly called garlic mustard). Next time you go walking have a look around. At the moment there is a lot of it about and it is quite easy to recognize. If you think you have spotted crush the leaves between your fingers. You can't mistake the lovely garlic/mustard smell. Of course if in doubt then leave it out.

You will find this garlic mustard in field margins, road verges, hedges, river and stream banks, edges of woods and ditches. This is a native biennial. First year growth have long stalked cordate (heart shaped) leaves with regular saw-like teeth and a crinkly looking network of veins. The main stem that appears in the spring of the second year has paler green nettle like leaves. It grows tall and thin like nettles. The leaves have the distinct smell of garlic when crushed. Small white flowers (6 mm wide) appear in clusters from mid April;seed pods are long, up to 60 mm, and 2 - 3 mm thick curving out from the stem.

It is a slightly bitter plant and needs to be mixed with ingredients that accompany such as fatty meats and salt fish. However I love it mixed with a number of ingredients such as goats cheese and nettle pasta or pirogi, and/or mushroom and salmon pirogi...yum. My Polish friend taught me how to make pirogi and it's stunning in a lot of my recipes.

You can eat the leaves sparingly in salads and sandwiches, add to risottos and the flowers are also a delightful ingredient in garnishes salads. This is one of my favorite free wild edibles which you can't get in a supermarket. I have used the roots grated which is amazing and similar to horseradish mixed with yogurt and served with beef.You can even use the green seed pods as spices and use as you would as mustard seeds.

Get out and find Jack...you will be amazed and so proud of your find. Share the love with this stunning wild edible. When I first came across 'Jack' I can't tell you how liberating it was. I was taking a walk one day along a common pathway I use everyday. I looked down and thought 'that looks like Jack'. I gave it a crush between my fingers and got the unmistakable whiff. OMG I could not believe my luck. It was one of my first finds and I wanted to share it with the world. Yep I nearly shoved it up a strangers nose but I contained my excitement and shared it with my partners nose instead when I got home. Now I see it everywhere and I am sharing it with you.

If you have any 'Jack' recipes to share then please contact me I would love to hear about your experiments.

Jack pesto with cream cheese

1 handful of lightly toasted pine nuts
3 handfuls of Jack
3 cloves of garlic
1 handful of grated parmesan cheese
a few glugs of olive oil (to your taste and consistency)
black pepper
salt to taste
2 tbs lime juice
2-3 tablespoons of Philadelphia cheese (or any of your choice)

Place all ingredients into a bowl and blitz with your hand held blender or machine. It will keep longer in the fridge if you pour some olive oil over the top of it. Enjoy this with anything or as you would any pesto. I tried mine with pirogi filled with goats cheese and nettles and smoked salmon and mushroom pirogi. The photographs you see are taken when I tried this pesto with roasted butternut squash. For me the squash was too sweet with Jack but as with all my recipes you can experiment with this strong flavored pesto.

© Fig.2.L.Moore close up of Jack by the hedge
© Fig.3. L.Moore 'Jack pesto'
© Fig.4. L.Moore Pirogi with jack pesto  
 Source
Irving, M. (2009) The Forager Handbook: A Guide to the Edible Plants of Britain, Ebury Press,  pp, 76-77

© Fig.5. L.Moore an young Jack to scale with a ten pence piece